Quick Start: How to Program a Raspberry Pi Pico in Rust
How to program a tiny device with no Operating System?
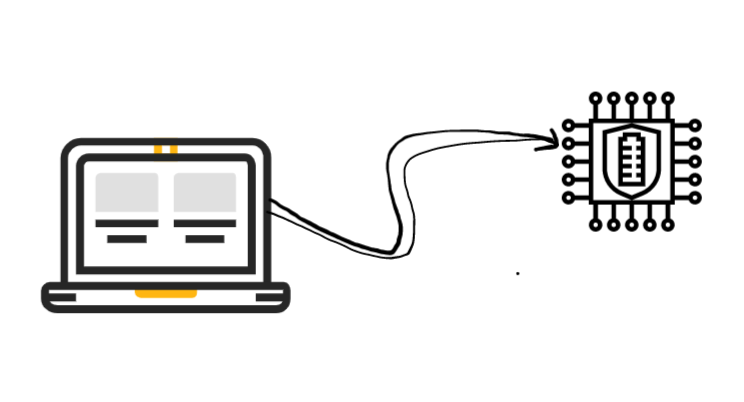
This post covers the abstract concept of programming microcontrollers. The Raspberry Pi Pico will be used as the example for the microcontroller, and Rust will be the programming language used to create the firmware.
[!] PANIC AVOIDANCE ALERT [!]
All Rust installation steps only need to be done one time on a developer’s machine. And, a project only needs to be set up once and can be copied to other projects after.
This post covers:
00: Download and Install Rust01: Use a Text Editor or IDE and compose a Rust Program (Hello, World!)02: Install tools for creating executables from Rust code03: Clone my blank pico project Repo from Github04: Plug in the Pico and Download a program05: Modify the Program and Download it againPick a Programming Language
When choosing to program any embedded system, there will be various options available to install executables to that device. Some platforms have a visual IDE that connects, downloads, and even shows the live state of the board under development.
It’s possible to program the Pico using a variety of languages. Over the next months, I’ll be detailing the process of how to program the Pico with Rust.
Getting Started With Rust
To develop using the Rust programming language, it must first be installed on the PC that is going to be used for the development process.
Trust in rustup. This is the way to manage Rust installations on development systems.
00: Install Rust
Install rustup
If that link doesn’t work on your system, google how to install rustup, not rust.
the official link for installation instructions
run ‘rustup update’
configure your path so that you can execute rust commands from the terminal
on windows be sure to open a new terminal after installing to see if it’s installed correctly
type cargo --version; if you see a version, you’re good. If not, continue with installation efforts.
Open or Find an IDE
I use CLion by JetBrains for this. But the folks on the Rust project have tool recommendations that almost certainly fit the bill. I’ve used a few of the items on their list and I have liked them all. I would advise against using Atom as it’s no longer going to be supported.
01: Open the Text Editor and create a Hello World Program
Follow this guide from the Rust docs.
This step isn’t required, but it’s a good idea to do if the plan is to regularly use Rust as a development language for Pico Projects.
Interpret Rust Code into a format the Pico can Understand
Get Code Compilation Tooling Setup
The guide provided by the rp-rs team is fantastic. They have a repo called rp-hal, and the ‘getting started’ is fantastic. Specifically, in their repo there is a section that is extremely relevant at the moment that I will include here now:
This segment below is copied directly from the rp-hal GitHub repo.
02: Install Tools for Compiling and Moving Code to the Pico
Step 1 - Install elf2uf2-rs:
$ cargo install elf2uf2-rs --lockedStep 2 - Install the thumbv6m-none-eabi target
This tells Rust how to structure the binary that your program will become. This is called a target, and you shouldn’t need to think about it TOO much.
$ rustup target add thumbv6m-none-eabiStep 3 - Make sure your .cargo/config contains the following (it should by default if you are working in this repository):
[target.thumbv6m-none-eabi]
runner = "elf2uf2-rs -d"
The thumbv6m-none-eabi target may be replaced by the all-Arm wildcard 'cfg(all(target_arch = "arm", target_os = "none"))'.
Step 4 - Boot your RP2040 into "USB Bootloader mode", typically by rebooting whilst holding some kind of "Boot Select" button. On Linux, you will also need to 'mount' the device, like you would a USB Thumb Drive.
Step 5 - Use cargo run, which will compile the code and started the specified 'runner'. As the 'runner' is the elf2uf2-rs tool, it will build a UF2 file and copy it to your RP2040.
Getting a project template to work with
I’ve created a super blank pico project to get started with. I did not find something like this when I first started, but it probably existed and I just didn’t look hard enough.
By downloading this project, and following the instructions, the pico should be able to pop out of the box, plug into USB, and be loaded with firmware.
03: Clone my Blank Project Repo
if you have git installed, run the following command in your working directory in the terminal:
git clone https://github.com/aptlyundecided/super-blank-rust-pico-project.git
If you don’t, you can just download the zip, and extract it.
Moving Code to the Pico for the First Time
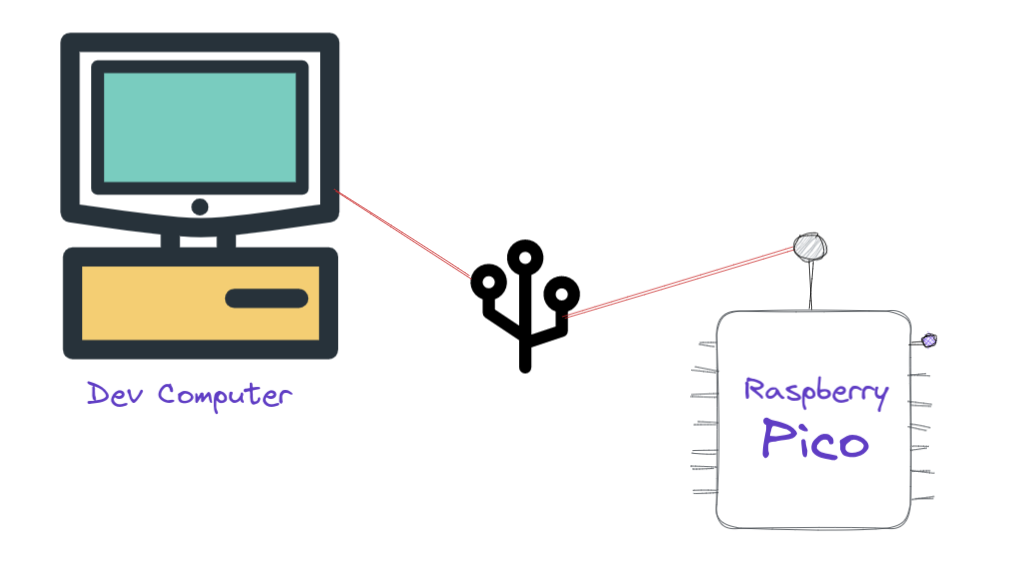
Out of the box, the Pico can accept a USB plug into the micro-usb port of the Pico, and the computer it’s plugged into will recognize it immediately.
Some quick details about the code that’s going to go onto the Pico. First, and by default, Rust will compile the source code into ELF (Executable and Linkable Format) files. This is great for a standard OS, but for an embedded system it doesn’t work.
A different kind of file is needed to run on the Pico, and that’s where step 02 will come it. There was a step where the crate called elf2uf2-rs was installed. That gives the name of the target file format, UF2.
My super blank project repo is already configured to handle all this work, but I wanted to include information about what’s happening because it’s good to know, and will be needed by anyone who wants to do customization that I haven’t covered.
04: Download the First Program
From the project directory where the super blank project was cloned, run the command:
cargo run --bin blinkyThe full instructions for how to use the super blank project are in the readme.md of that repository.
But Wait, Is the Pico Bricked?
My first time doing this, I had no idea when I wrote the UF2 to the memory of the Pico that it would no longer function as a USB device. I kept plugging it in, and it would immediately just start flashing.
I spent probably 15-30 minutes trying to sort this out.
There is a button on the Pico you have to press on the board labeled bootsel. Pressing this does nothing. Until the bootsel button is pressed and held pressed while it’s being plugged in. Without this step, the Raspberry Pico will not be detected as a USB device again.
And thinking about this, it of course makes sense because why boot the device to ‘USB’ mode when it’s meant to run an autonomous functionality? Powering the device on should make it ready to execute firmware, not ready to receive a new set of firmware.
05: Modify the blinky program and write it to the pico
Change anything about the program. Could be the time the flash is on, or off, or both? Could be something entirely different. Change something that will be perceivable to you after re-flashing the firmware, then flash the new code to the Pico.
Modify the ProgramUnplug the PicoHold the bootsel buttonPlug the Pico in while holding the buttonSee that the Pico is detected as a USB devicerun ‘cargo run --bin blinky'Observe new behavior on the Pico
Conclusion
This walk-through is meant to guide a microcontroller enthusiast through the steps of prepping their machine for Rust development, getting a blank Rust / Pico project from GitHub, and getting that thing installed, modified, and installed again to the Pico.
I tried to be as thorough as possible, but If I’ve missed something please get in touch with me and let me know. As for the GitHub project, if you notice something don’t be afraid to open up an issue for it!


